
Introduction
The Auto Scheduler feature helps to easily and accurately create work schedules based on a set of simple parameters, such as when and where work is needed, how many workers are needed at each work site and which workers are available during the specified times. The Auto Scheduler algorithm matches work needed with worker availability to ensure work is distributed evenly and will prevent scheduling work times that will lead to overtime.
Shifts will be created automatically if a site and a worker share the same availability (and qualifications, if those are enabled).
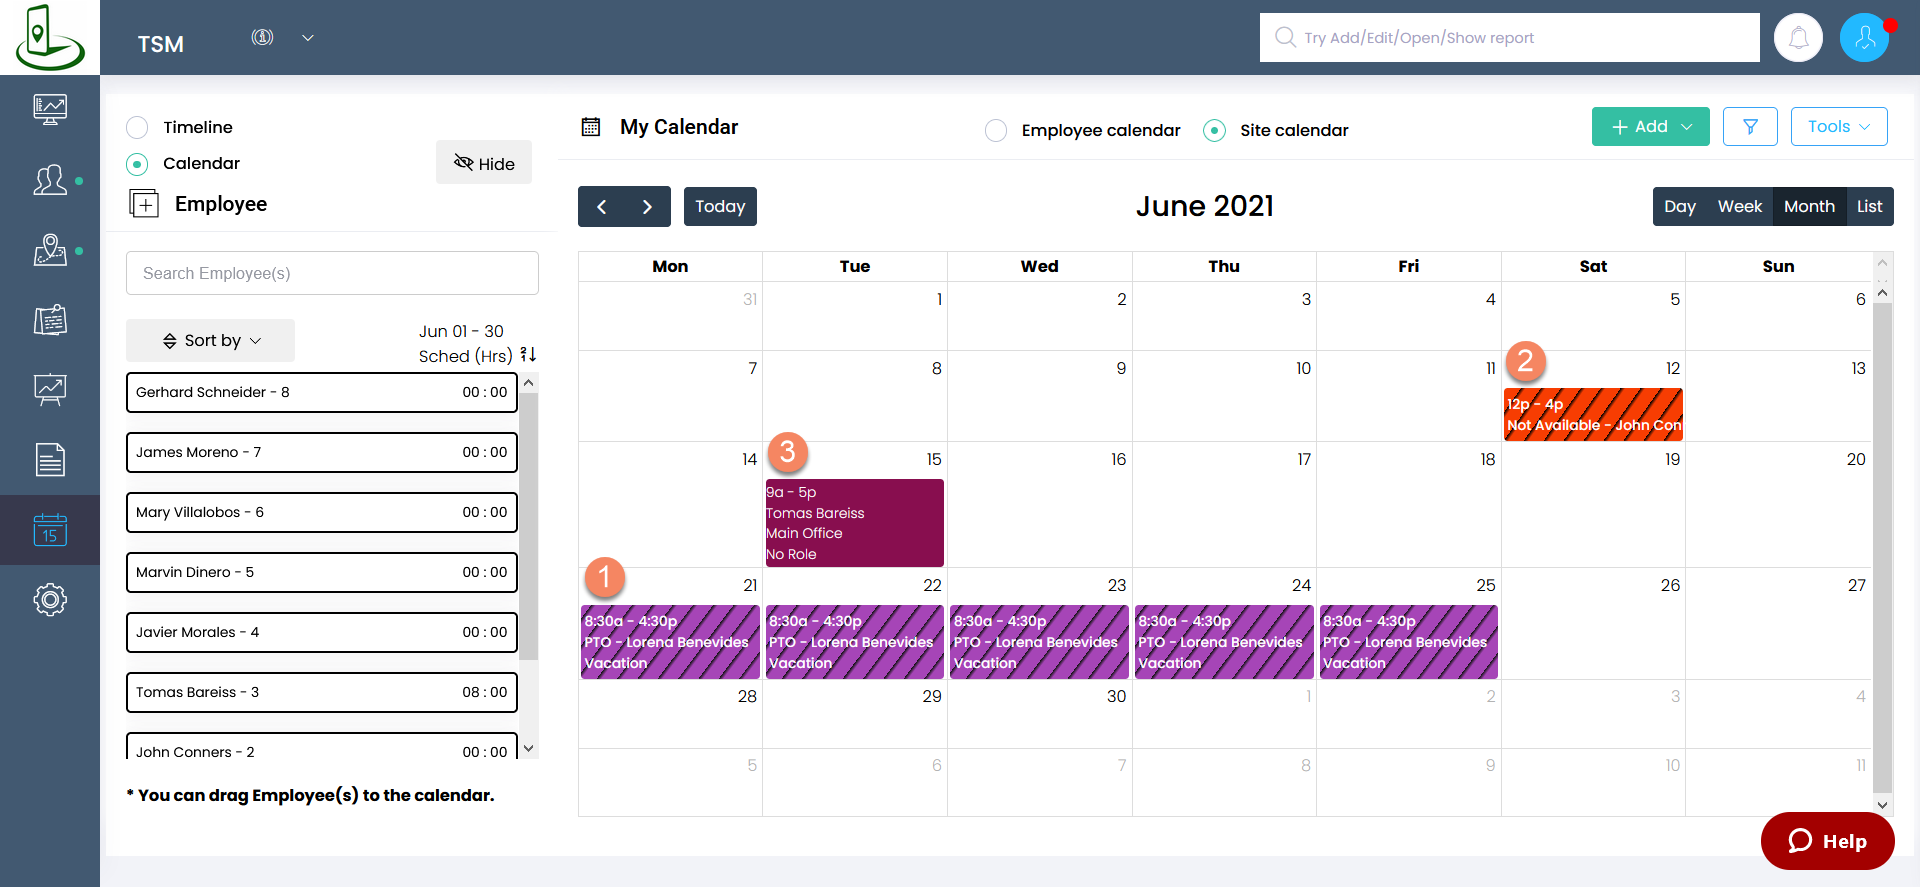
Auto scheduling takes worker availability into account and will not schedule workers for time slots in the following cases:
- Worker is on paid leave or absent (week of June 21 in example below)
- Worker has blocked time (12 pm - 4 pm on June 12 in example below)
- Worker has been manually scheduled for a shift (9 am - 5 pm manually scheduled shift)
Setup
Auto Scheduler settings are accessible from four locations in the Admin program. They are:
- Settings Page
- Site Page
- Worker Page
- Scheduling Page
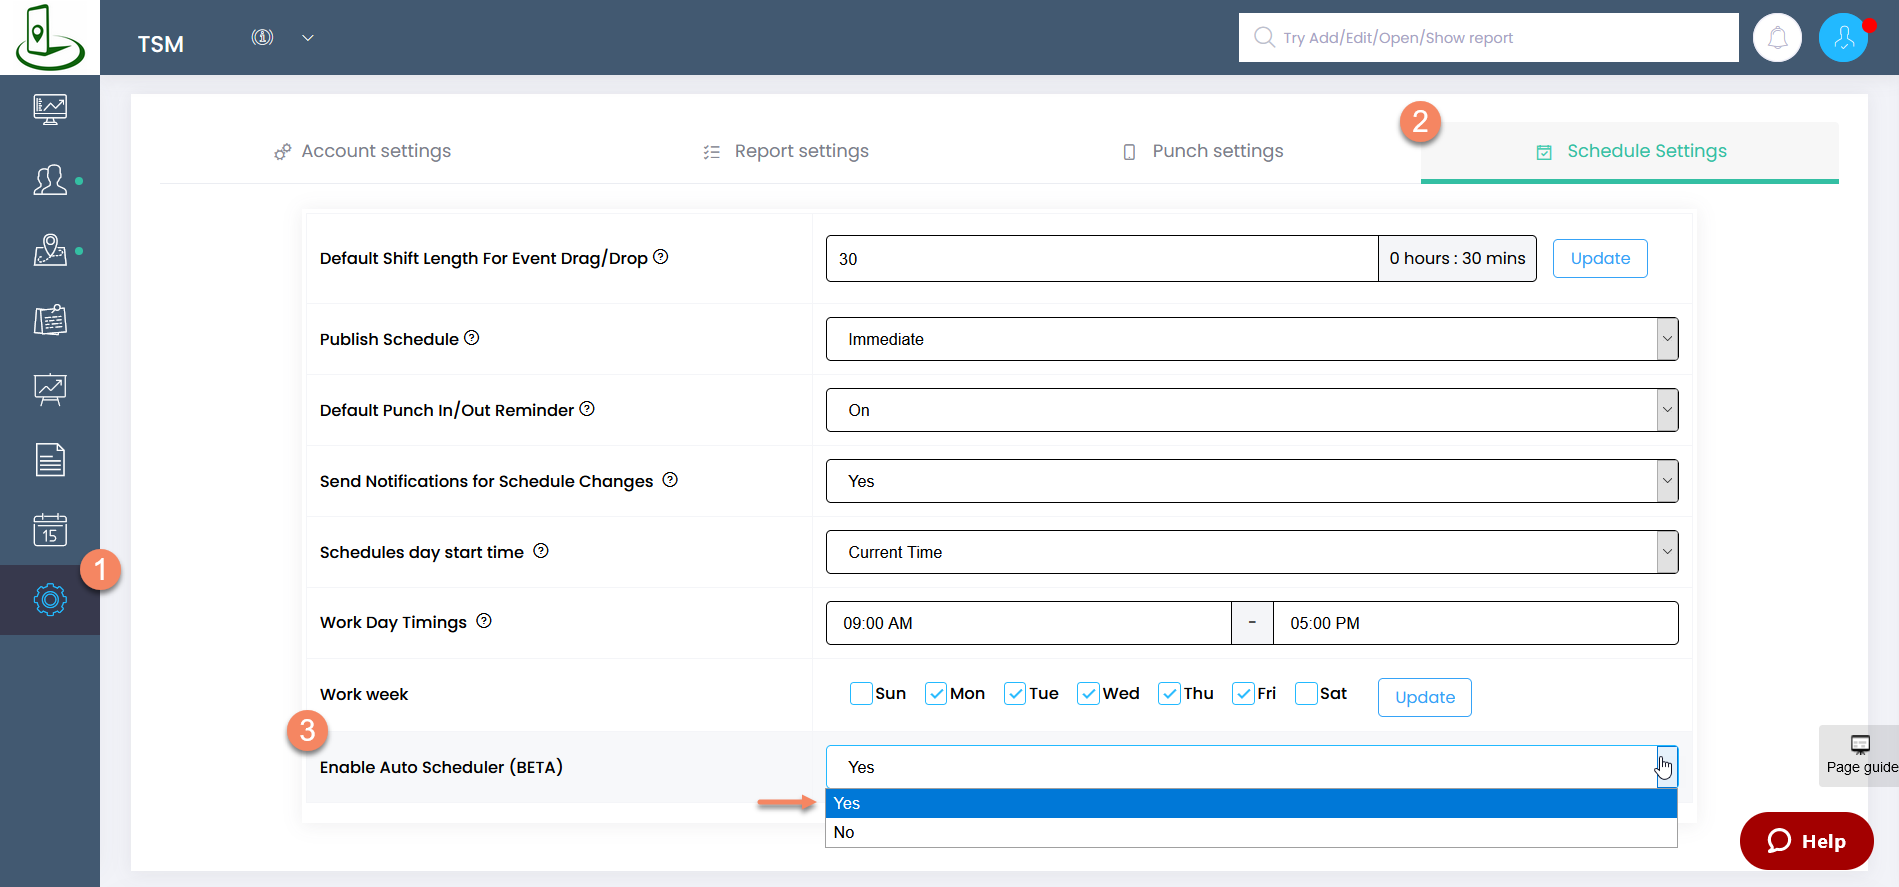
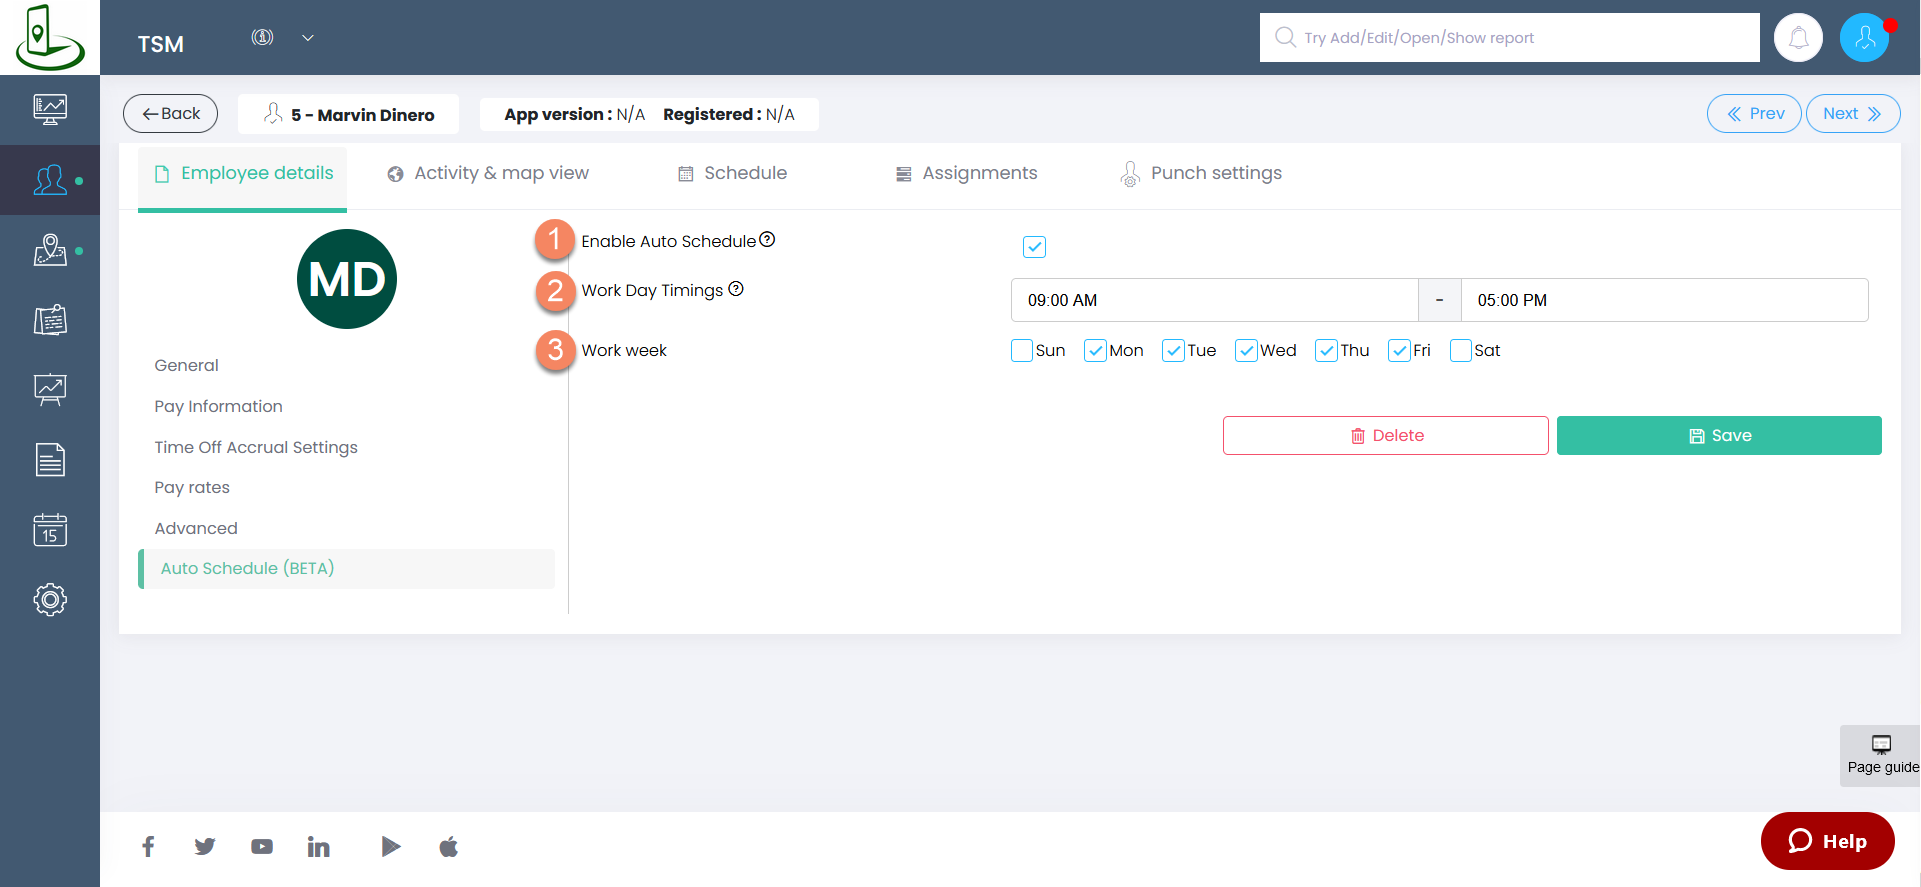
1. Schedule Settings
Firstly, to use Auto Scheduler, it must be enabled in Settings -> Schedule Settings -> Enable Auto Scheduler, as shown in steps 1-3 below. The parameter Work Day Timings can be set here on this page, or customized per work site or per worker in their corresponding control panel views.
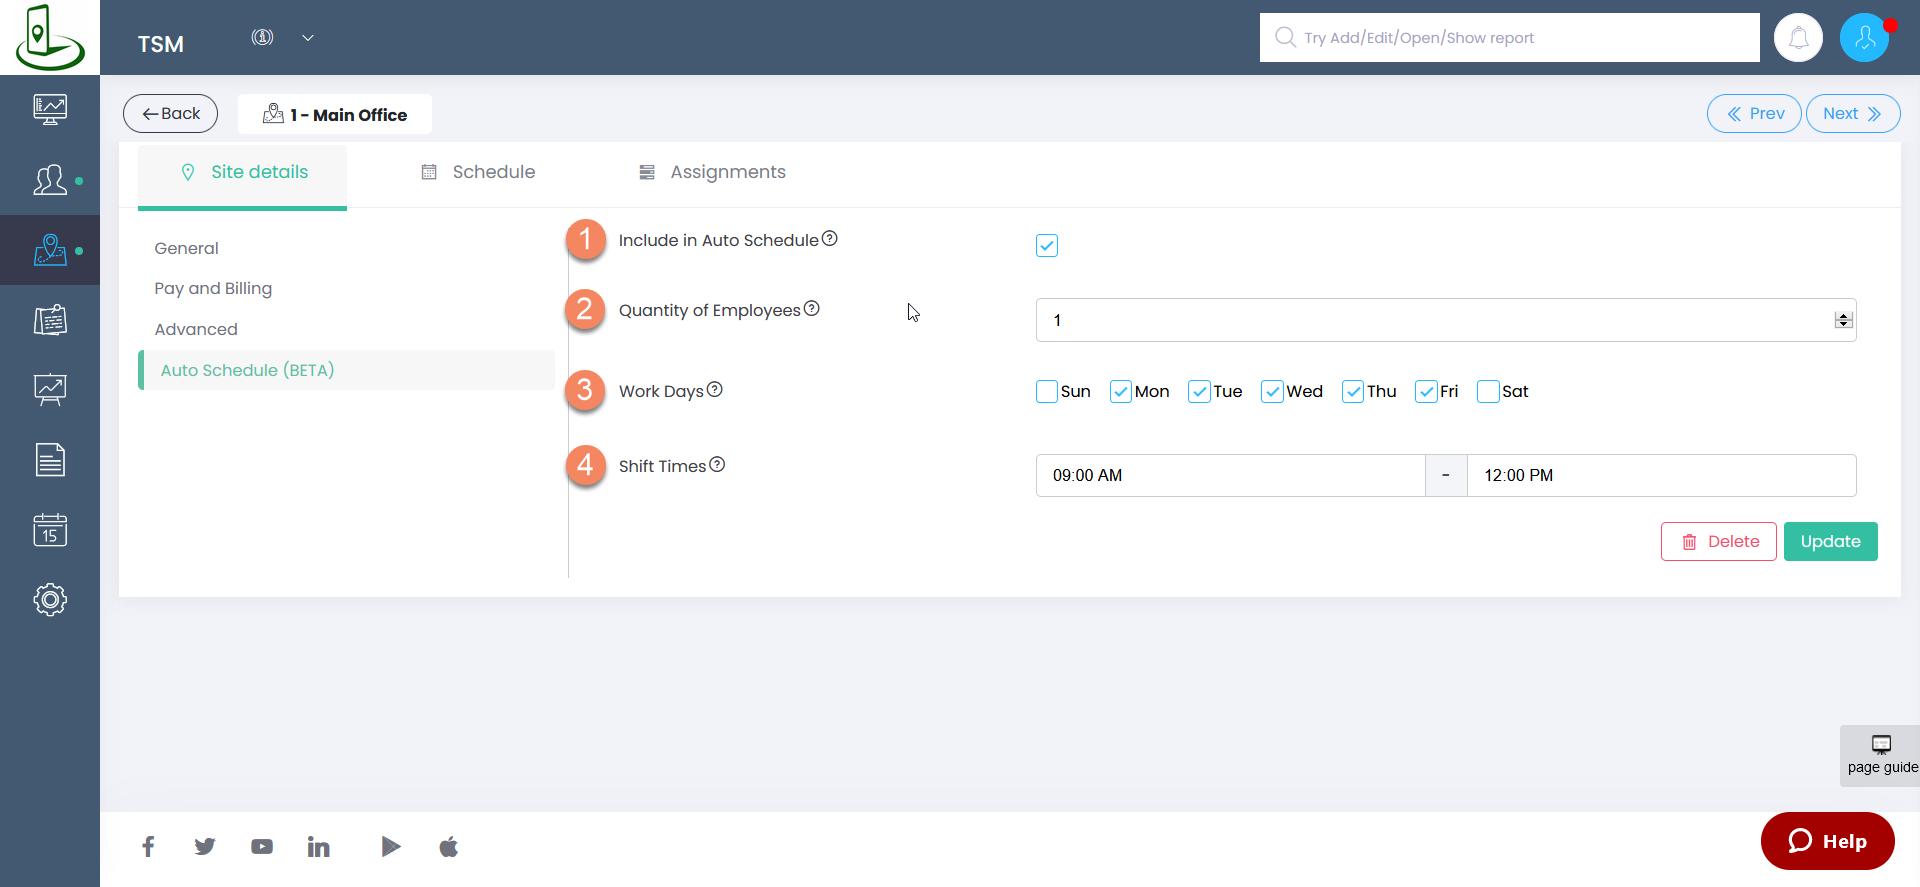
2. Site Settings
With the Auto Scheduler feature enabled, work locations, that are to be included in the automatically generated schedule, can be selected, by using the control panel view (by clicking on the pencil) for each site and setting. These are the modifiable parameters:
- Include in automatic scheduling
- Set the number of workers required at the site
- Set the work days
- Set the work times
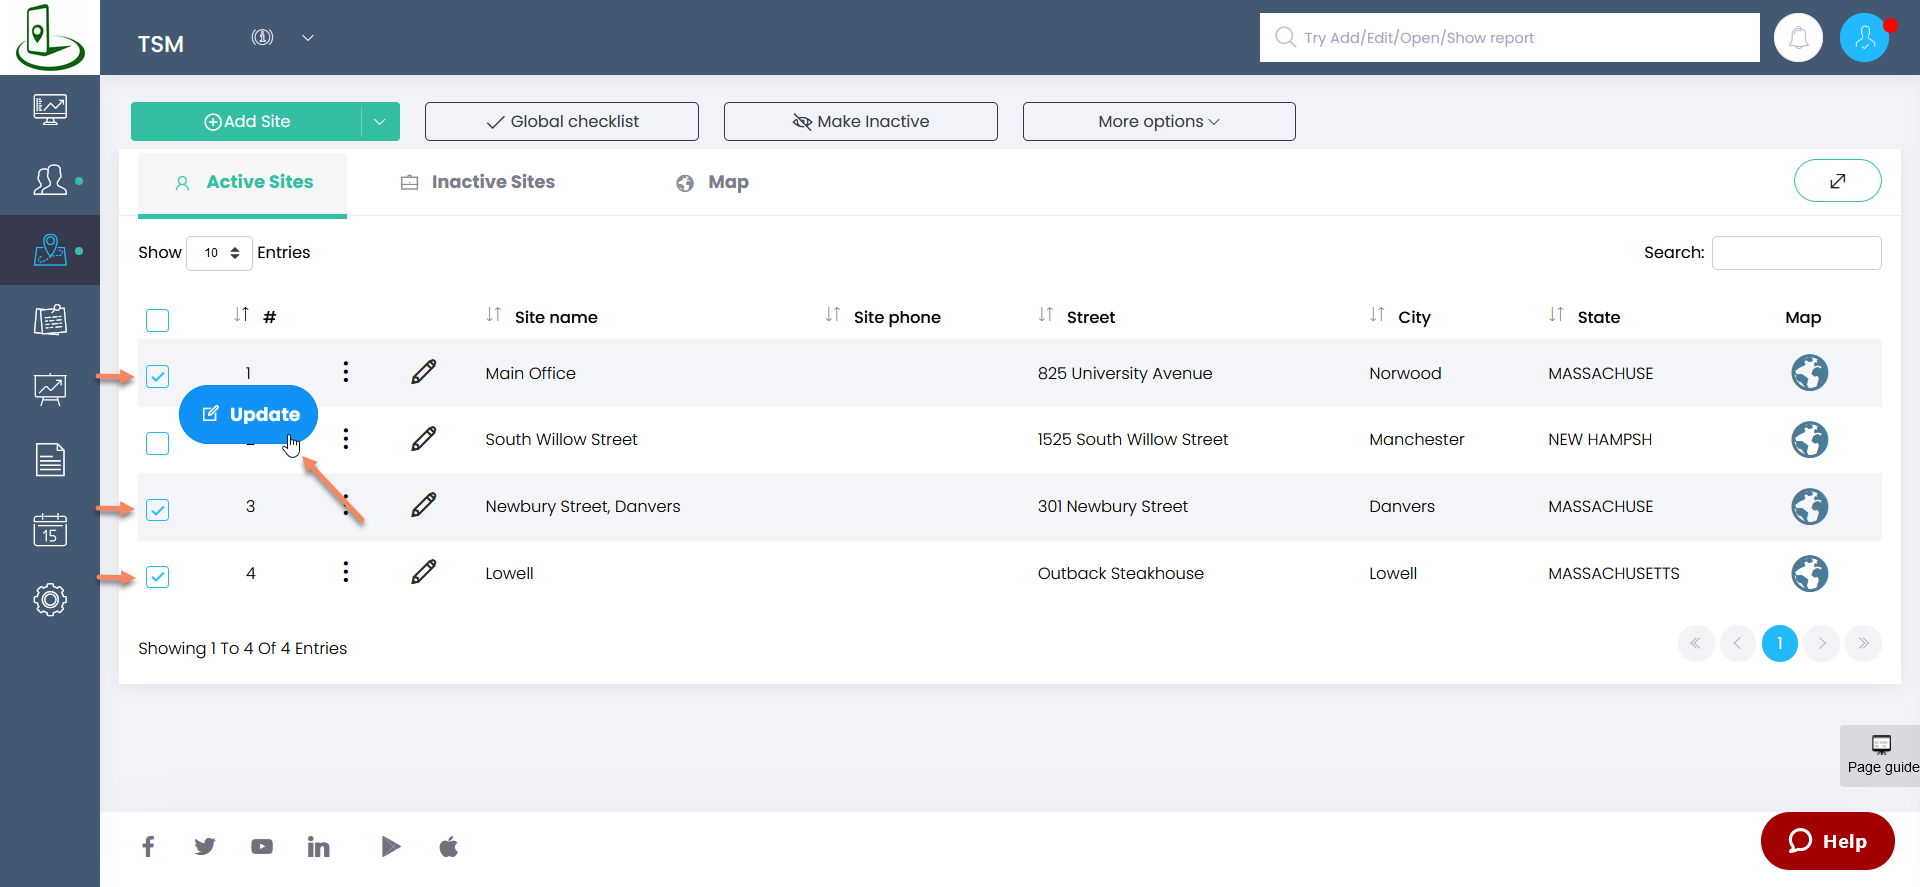
Note: Select and update multiple locations using the checkboxes and batch update functionality.

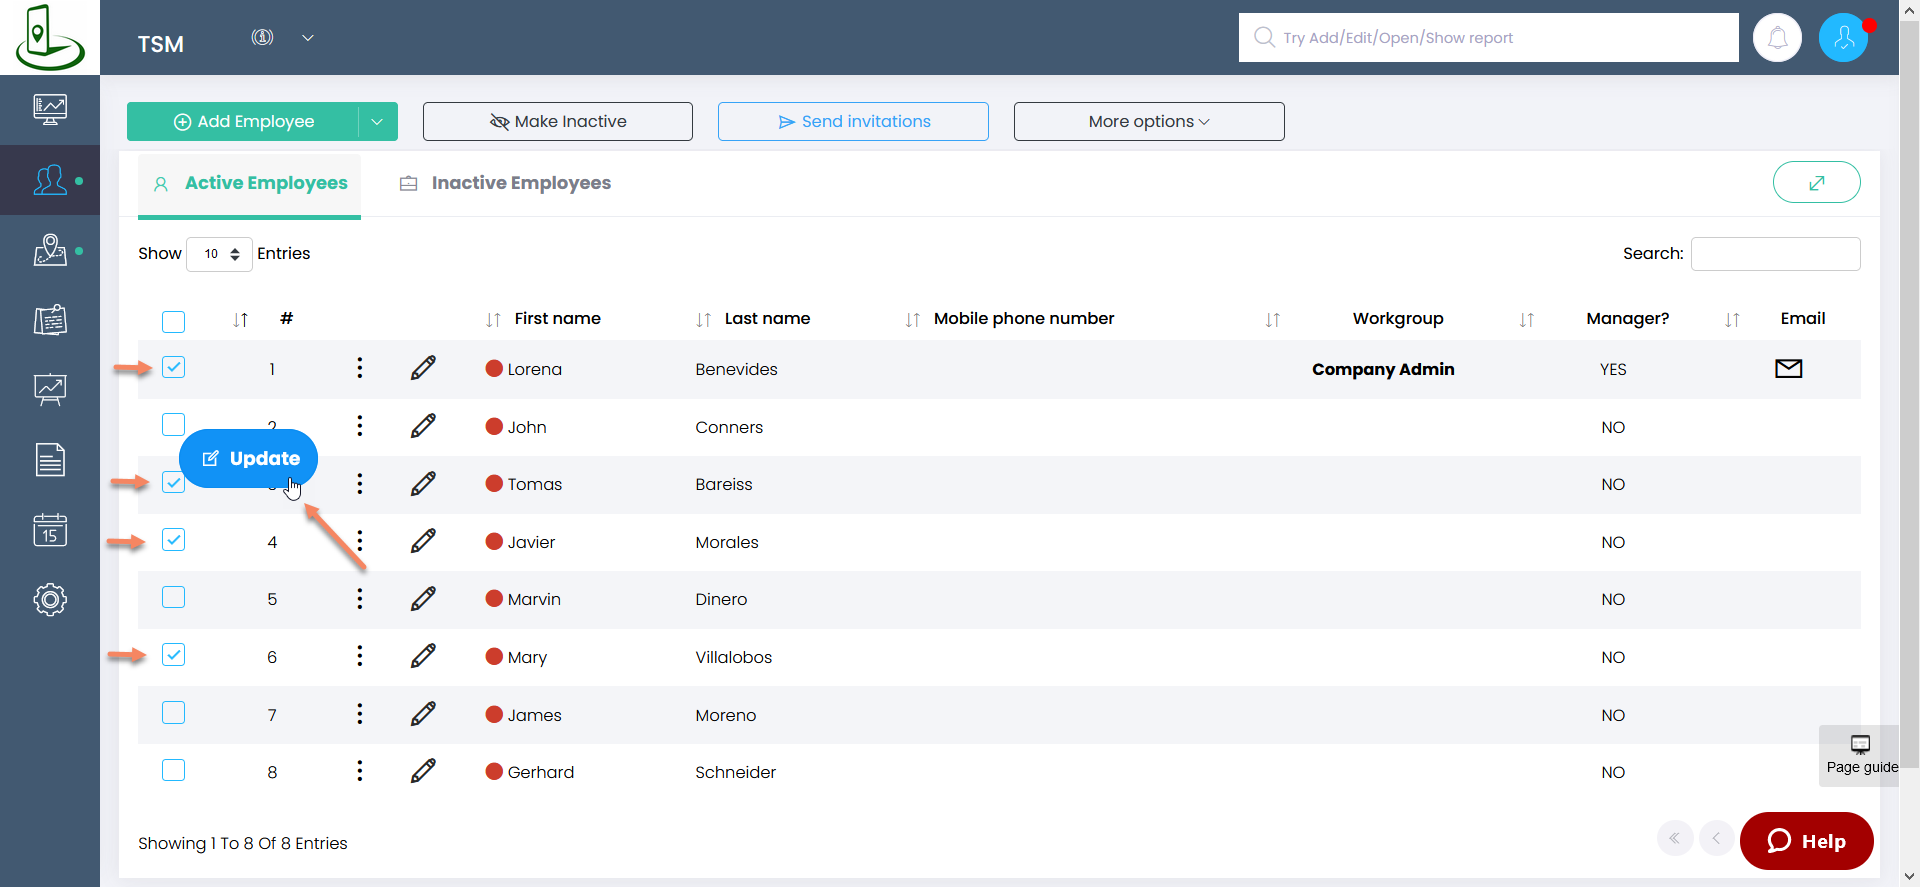
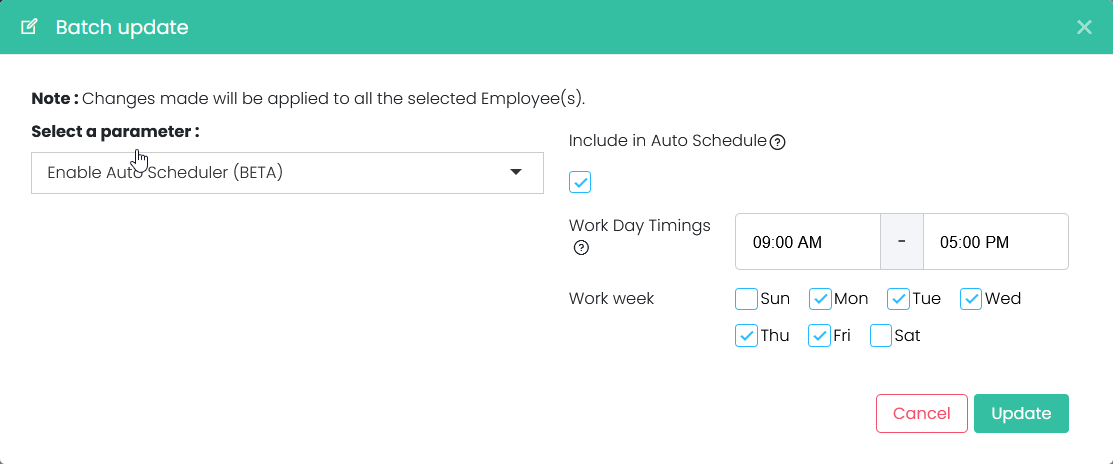
3. Worker Settings
Workers can be included in the Auto Scheduler algorithm individually by editing from the control panel view. In the control panel view, the default work days and times are set:
- Include worker in auto scheduling
- Set worker's availability
- Set worker's workweek
Note: Select and update multiple workers using the checkboxes and batch update functionality.
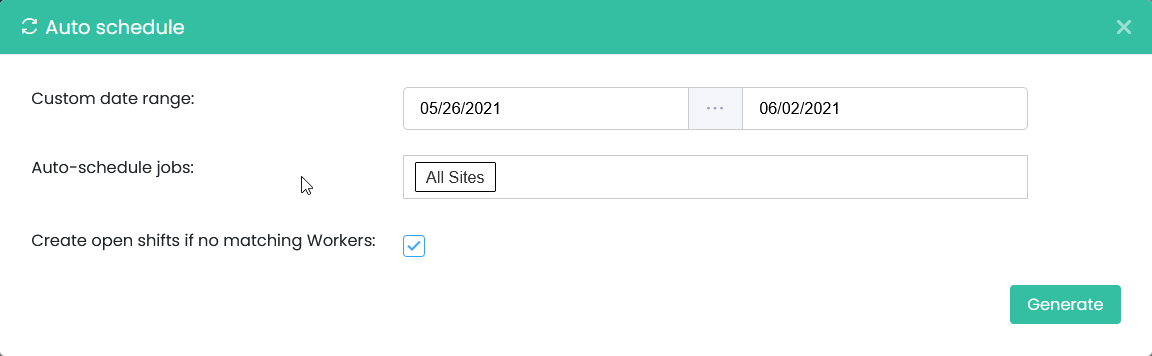
4. Scheduling Settings
To access Auto Scheduler settings in the Scheduling page view, click on the blue Tools button in the top right corner, and click on "Auto Scheduler" option in the drop down list.

In the subsequent popup window, shown below, you can select date range and jobs, and whether or not to create open shifts, if shifts cannot be filled due to a lack of matching workers.
Use of Qualifications
Qualifications are used to match employees with jobs. Qualifications can be used to further focus which jobs workers are assigned to. For example, if a job has a qualification of "Plumbing", only workers with that qualification would be considered in the Auto Scheduler algorithm. Employees must have at least EVERY qualification required by the job (but can have more). So, if a job has Electrical & Plumbing as qualifications, workers with BOTH electrical and plumbing qualification "qualify" for that job.
Most accounts do not have qualifications enabled or set, so the Auto Scheduler will just look for any available workers for the required times.
How to Enable Qualifications
In Account Settings -> Advanced -> Enable Qualifications
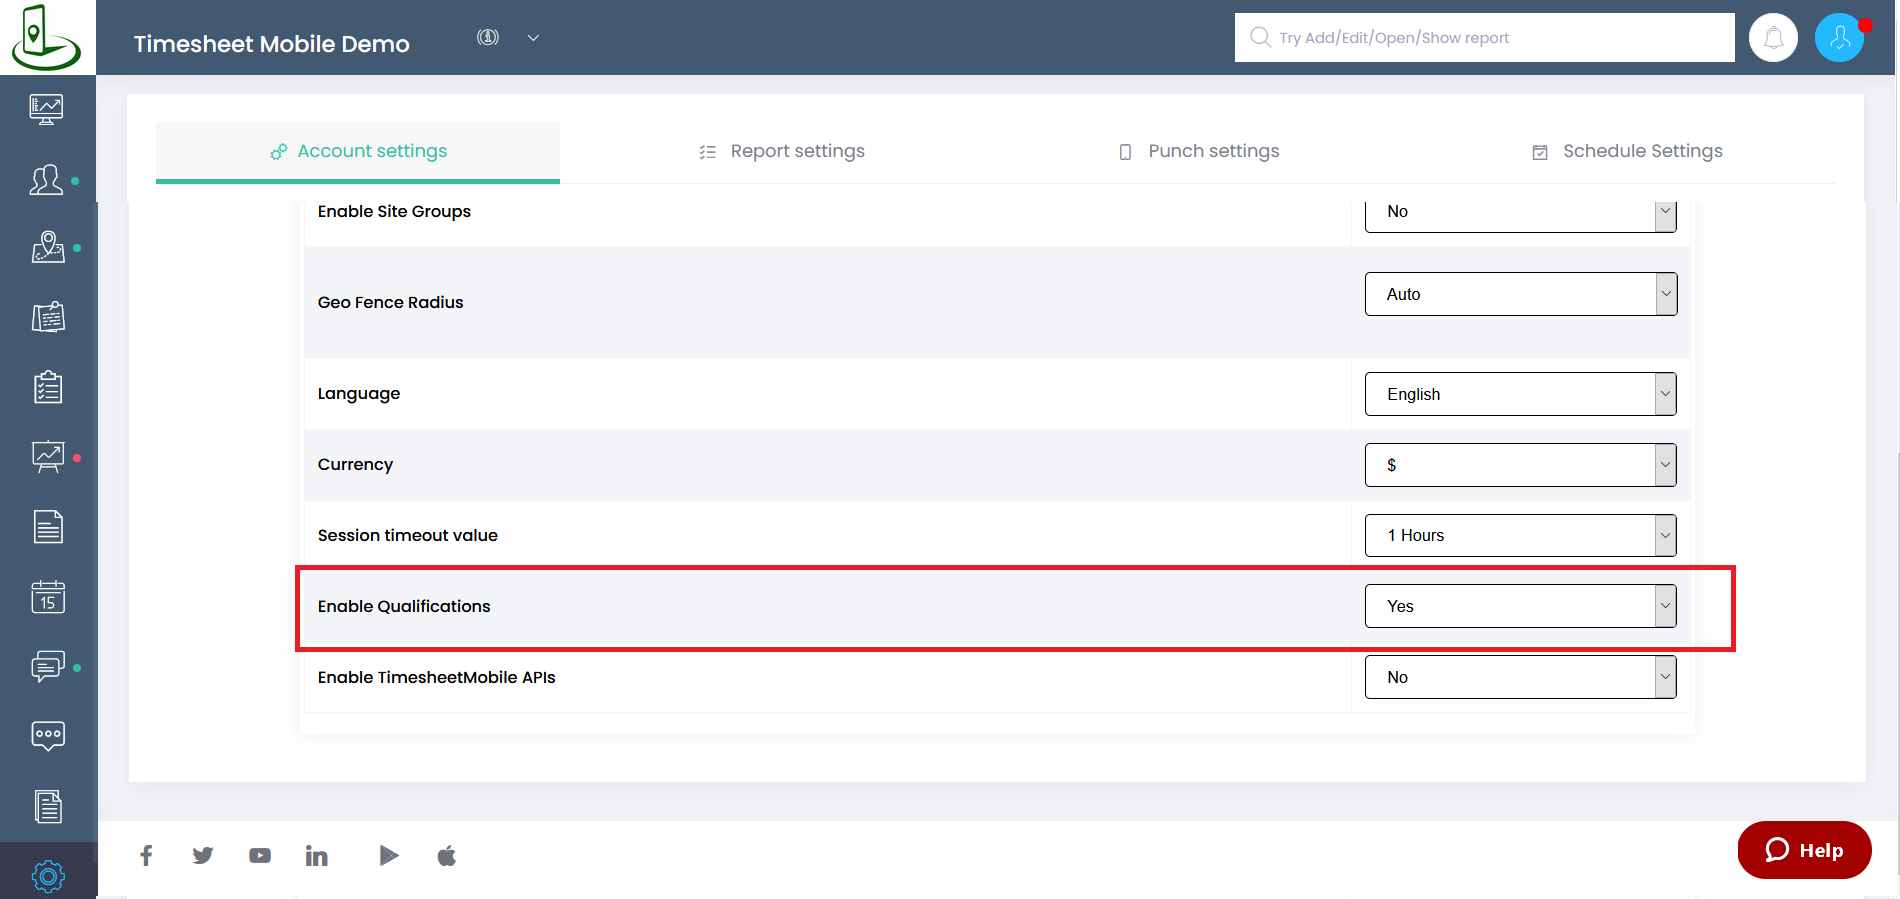
If enabled, users can create a list of qualifications (e.g. Electrical, Plumbing, Carpentry ...) and "tag" jobs and employees with these qualifications.
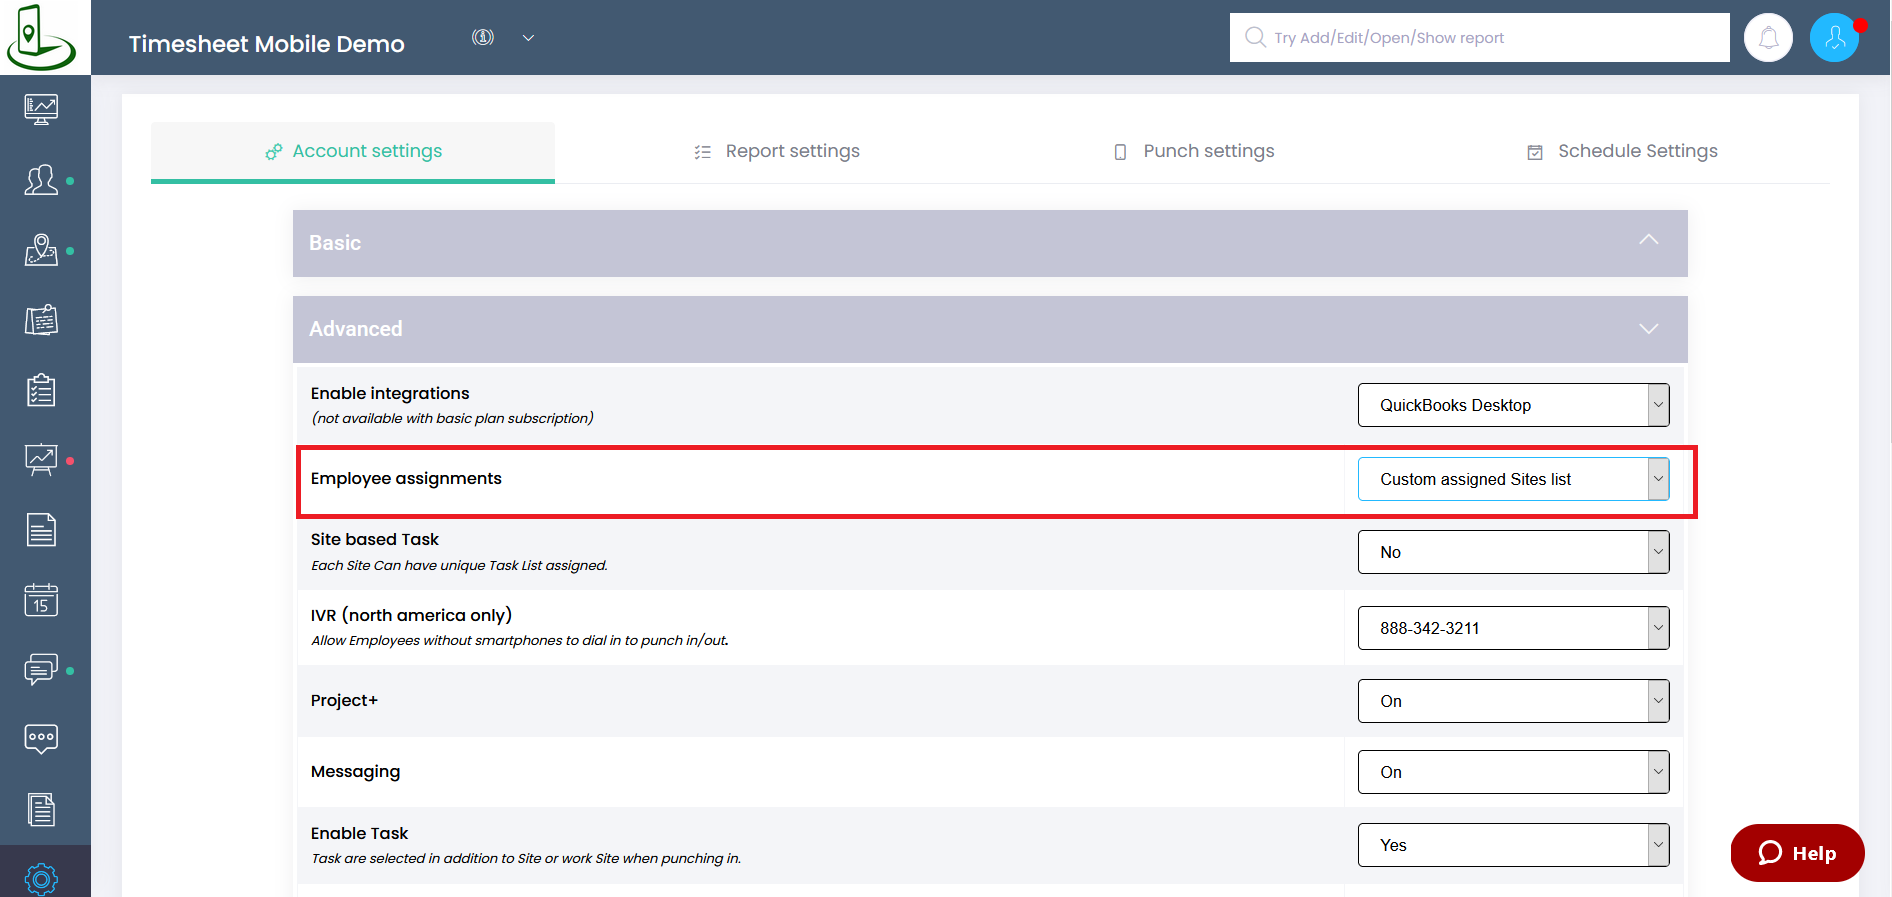
If custom assignments are used, employees will only be considered for jobs they are assigned to.
Comments
0 comments
Article is closed for comments.